# Netlify
Netlify is a San Francisco-based cloud computing company that offers hosting and serverless backend services for static websites.
Netlify is an excellent option for deploying VuePress sites. Netlify is a unified platform that automates your code to create performant, easily maintainable sites and web apps. They provide continuous deployment (Git-triggered builds); an intelligent, global CDN; full DNS (including custom domains); automated HTTPS; asset acceleration; and a lot more.
Their free tier includes unlimited personal and commercial projects, HTTPS, continuous deployment from public or private repositories, and more.
# Creating an Account
First action to perform is to create a Netlify account. Navigate to netlify.com and click the Sign up button.
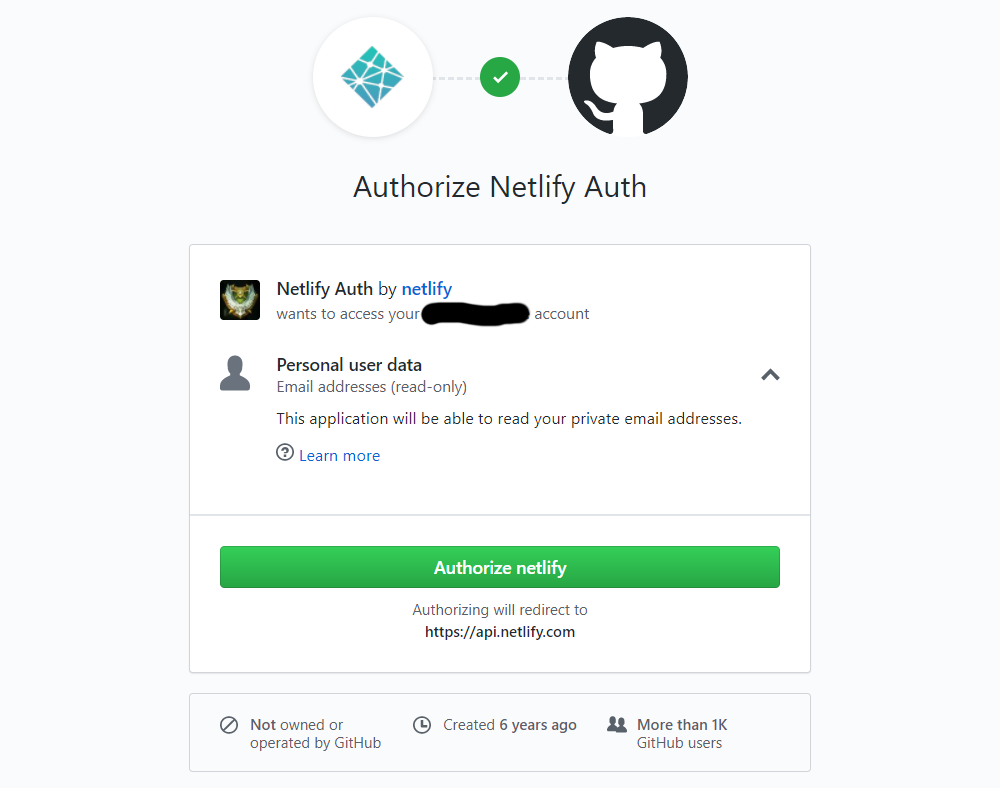
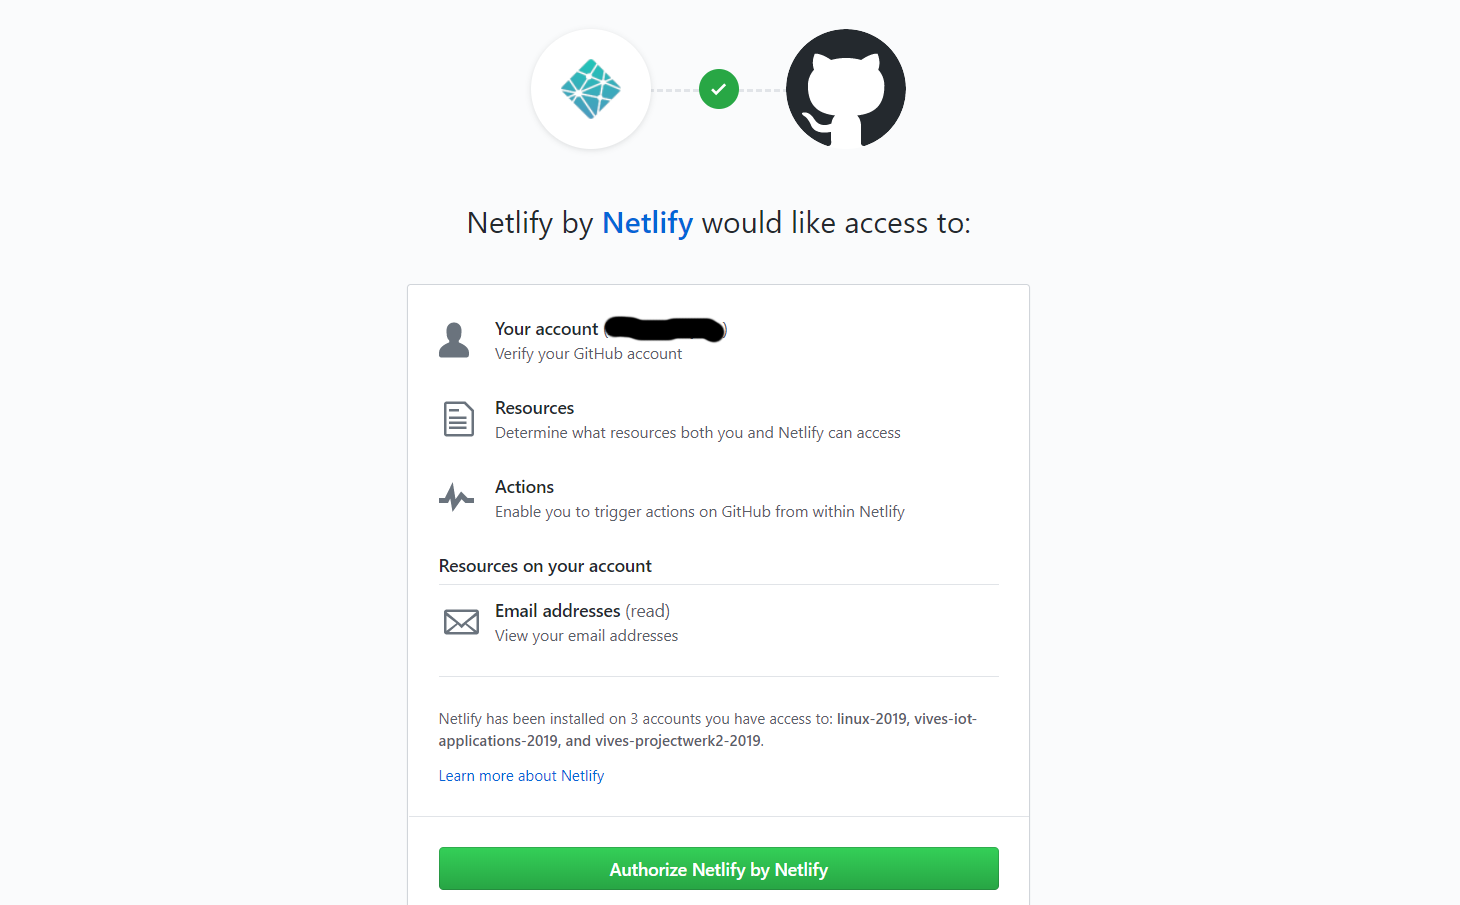
Luckily this is a quick and painless operation if you choose to login using your GitHub account. You will need to provide access to your GitHub profile.
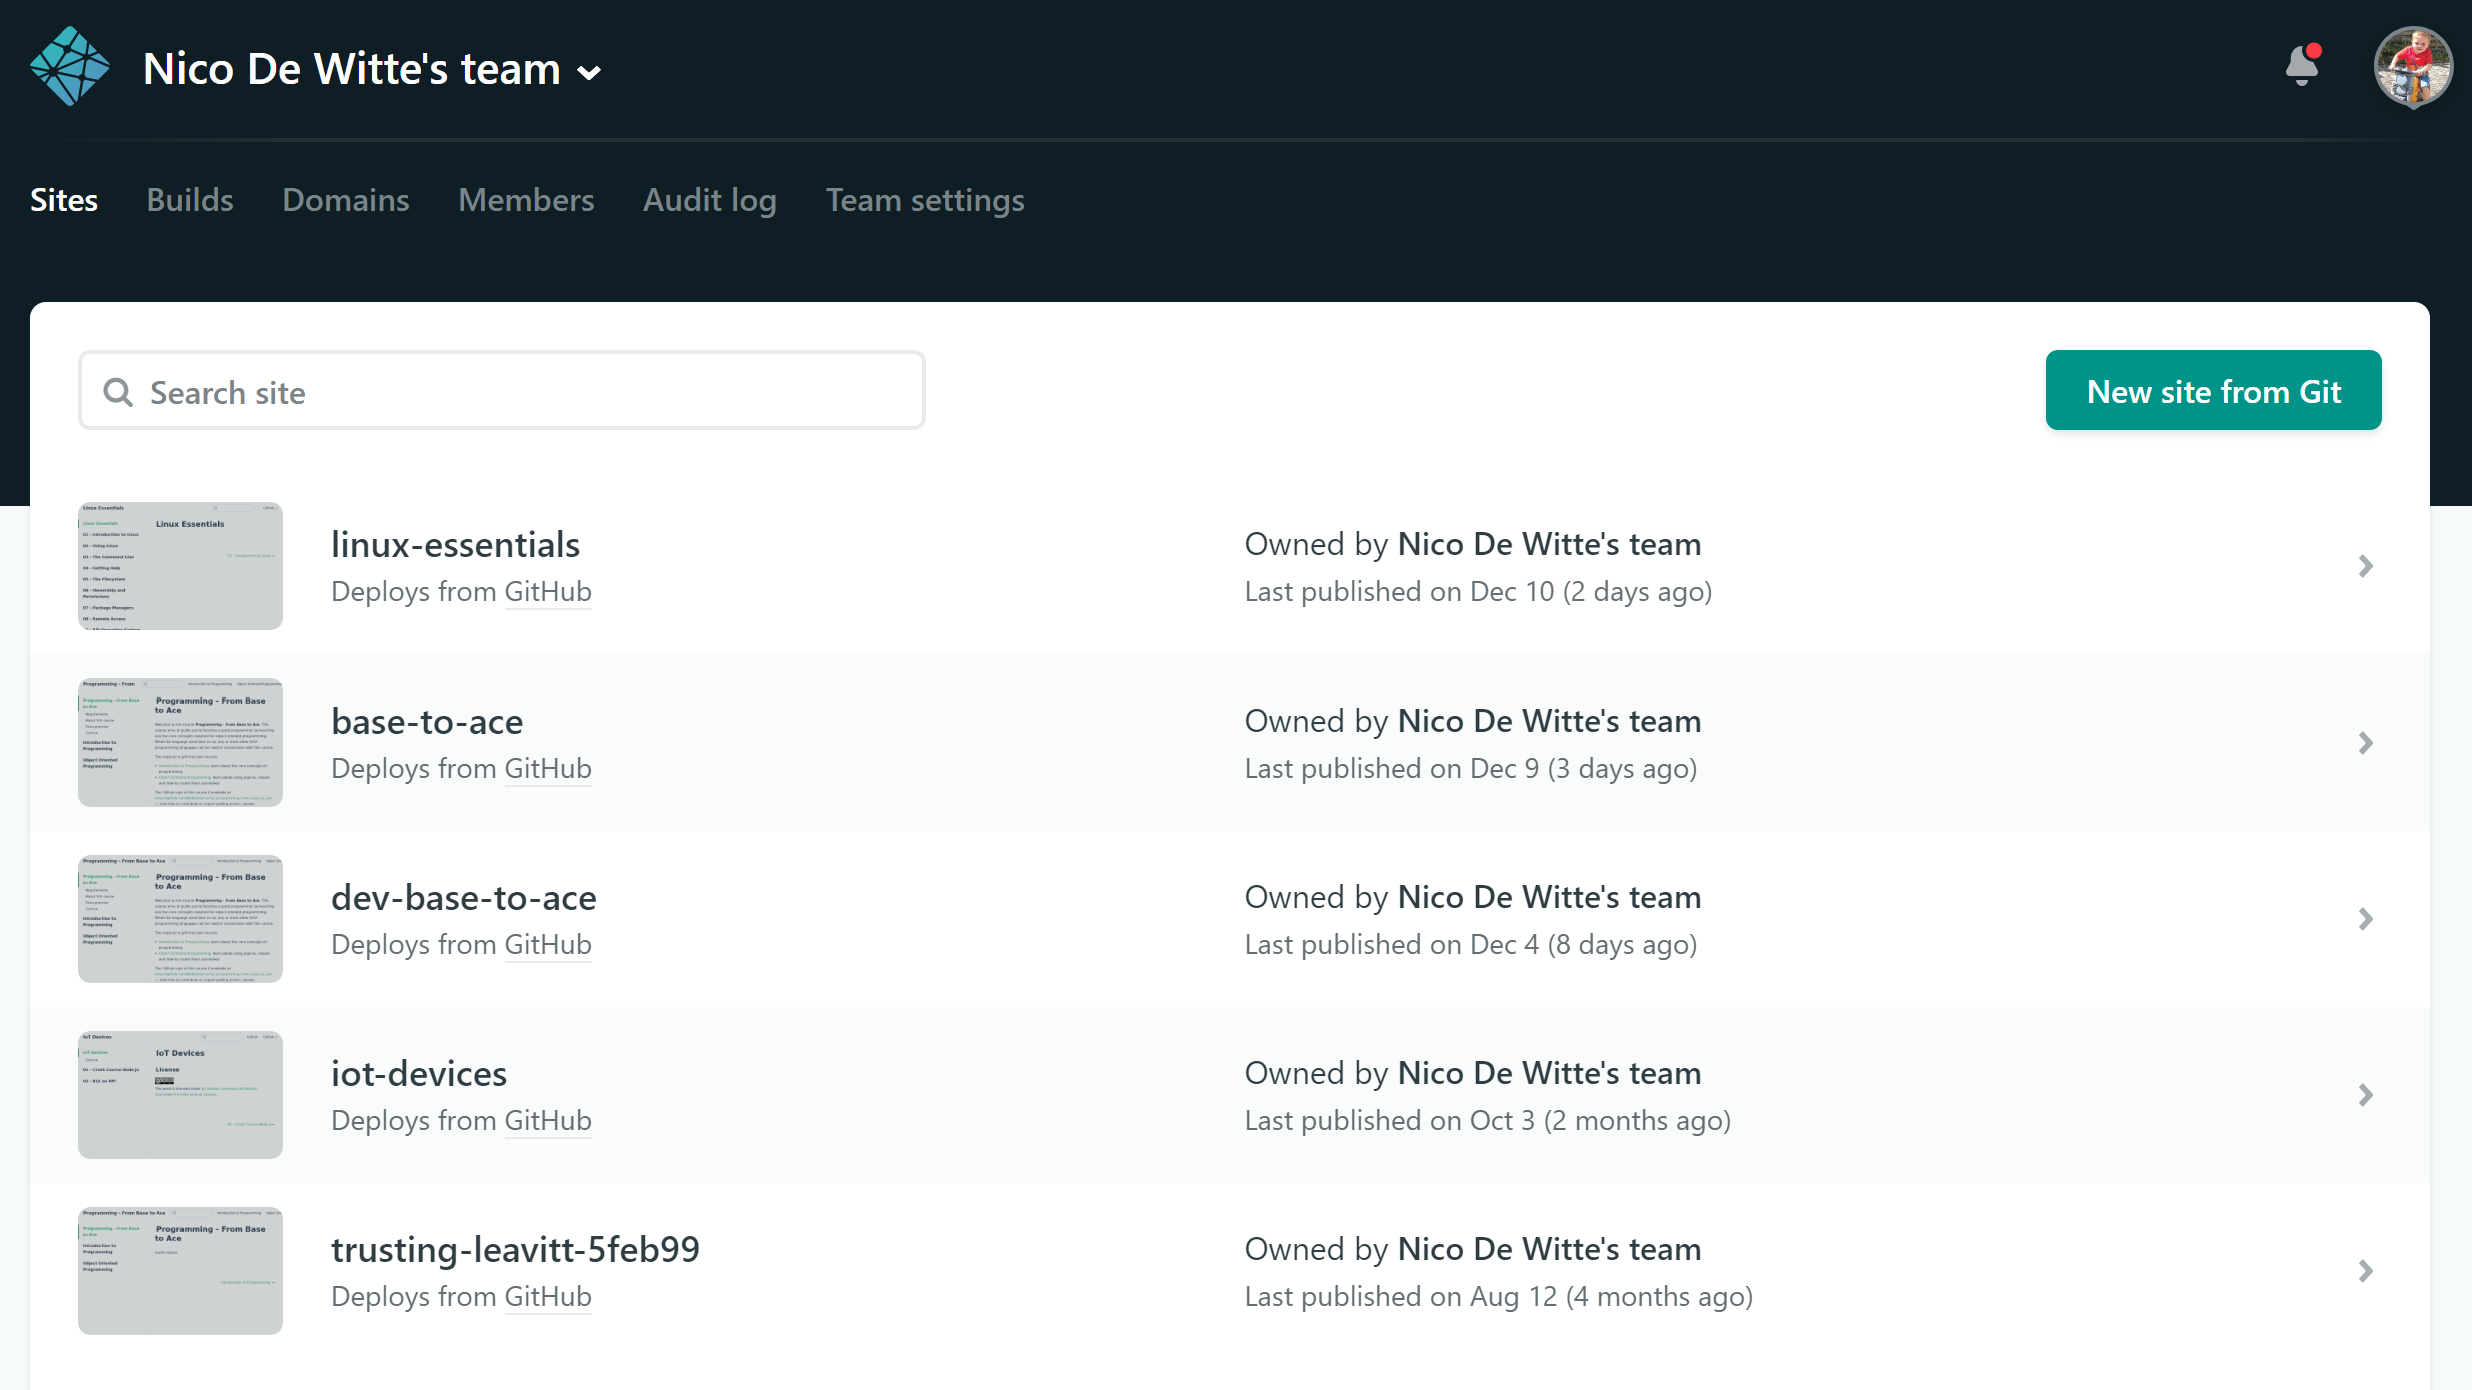
Once logged in, you should get the dashboard overview of your current projects and their statuses.
# Creating a New Website
Once logged in, hit the New Site from Git button. This should bring you to the next page.
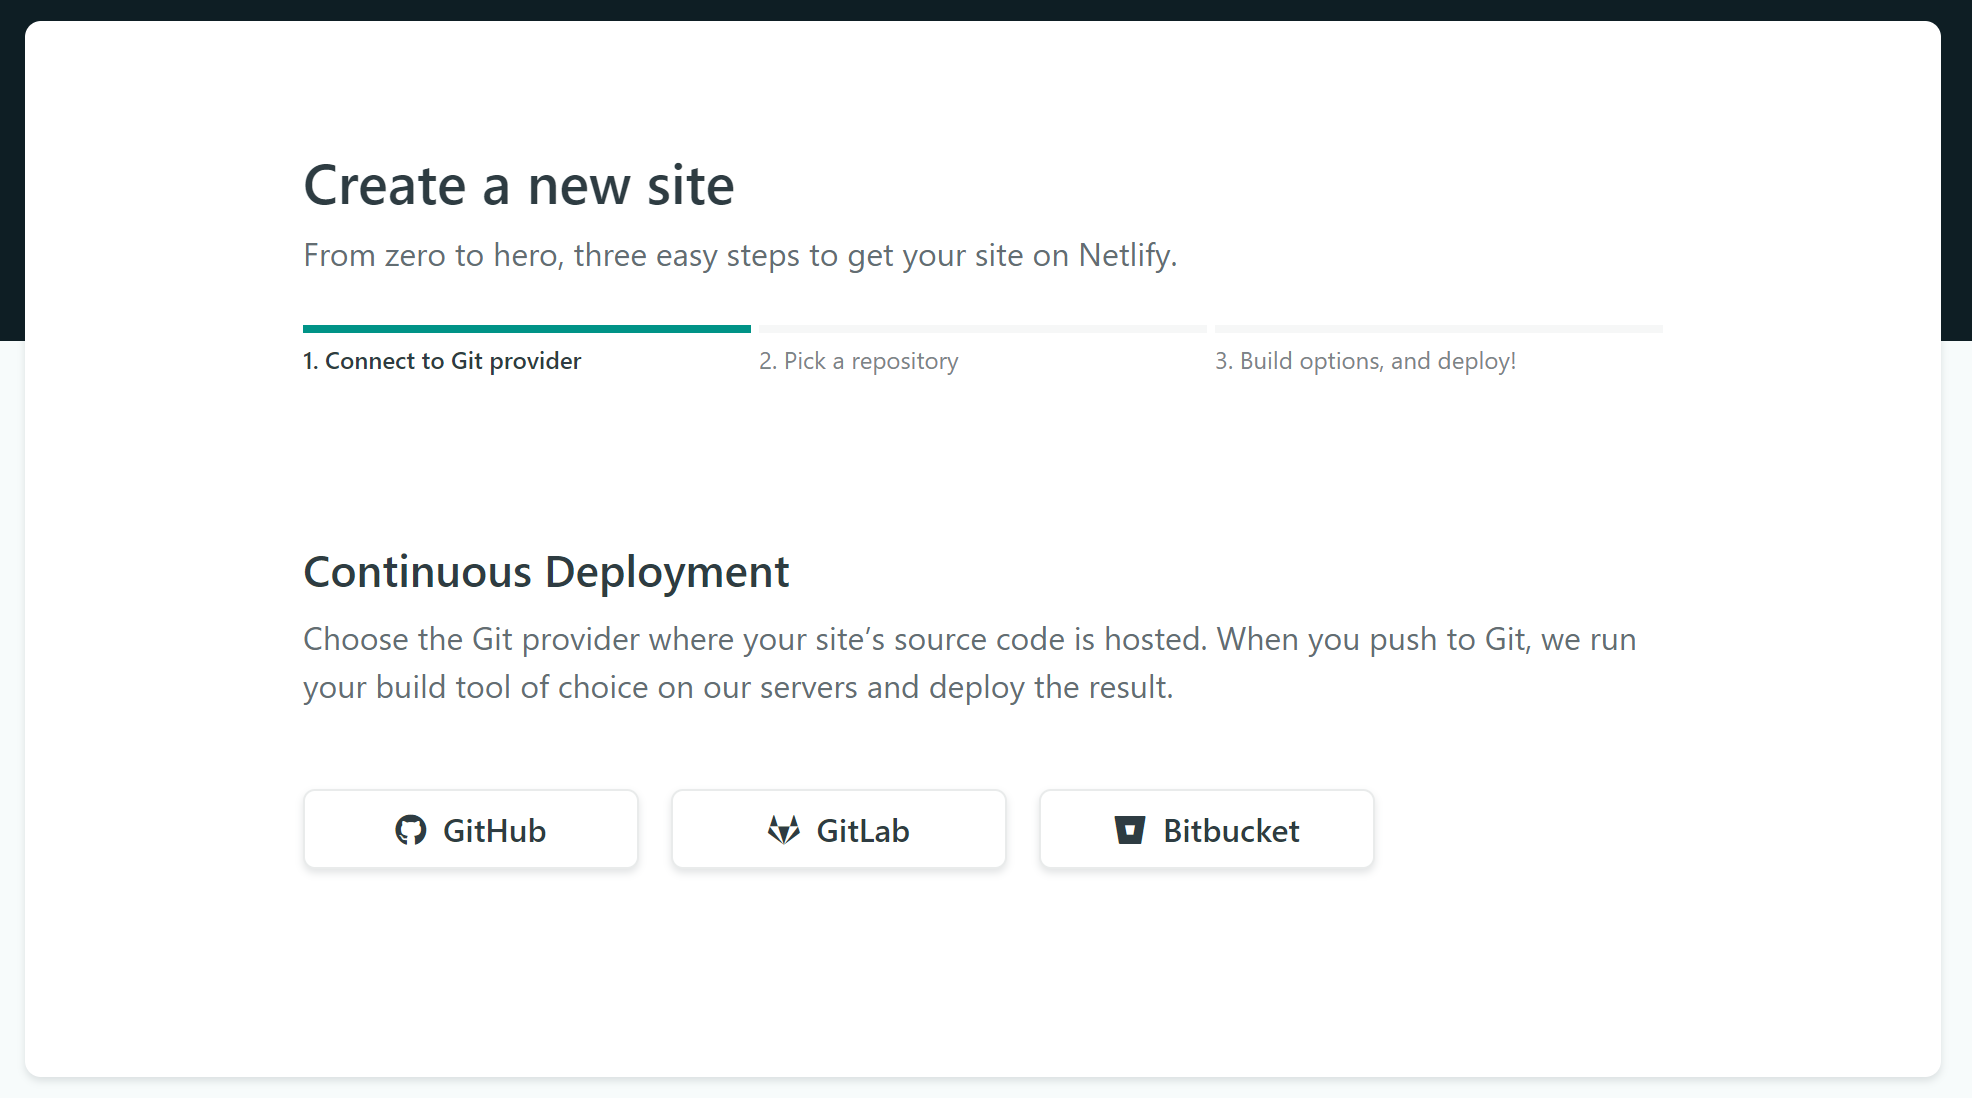
Now select to use GitHub. Netlify will again request authorization to your GitHub account. This time to access your public and private repositories. Please allow it access.
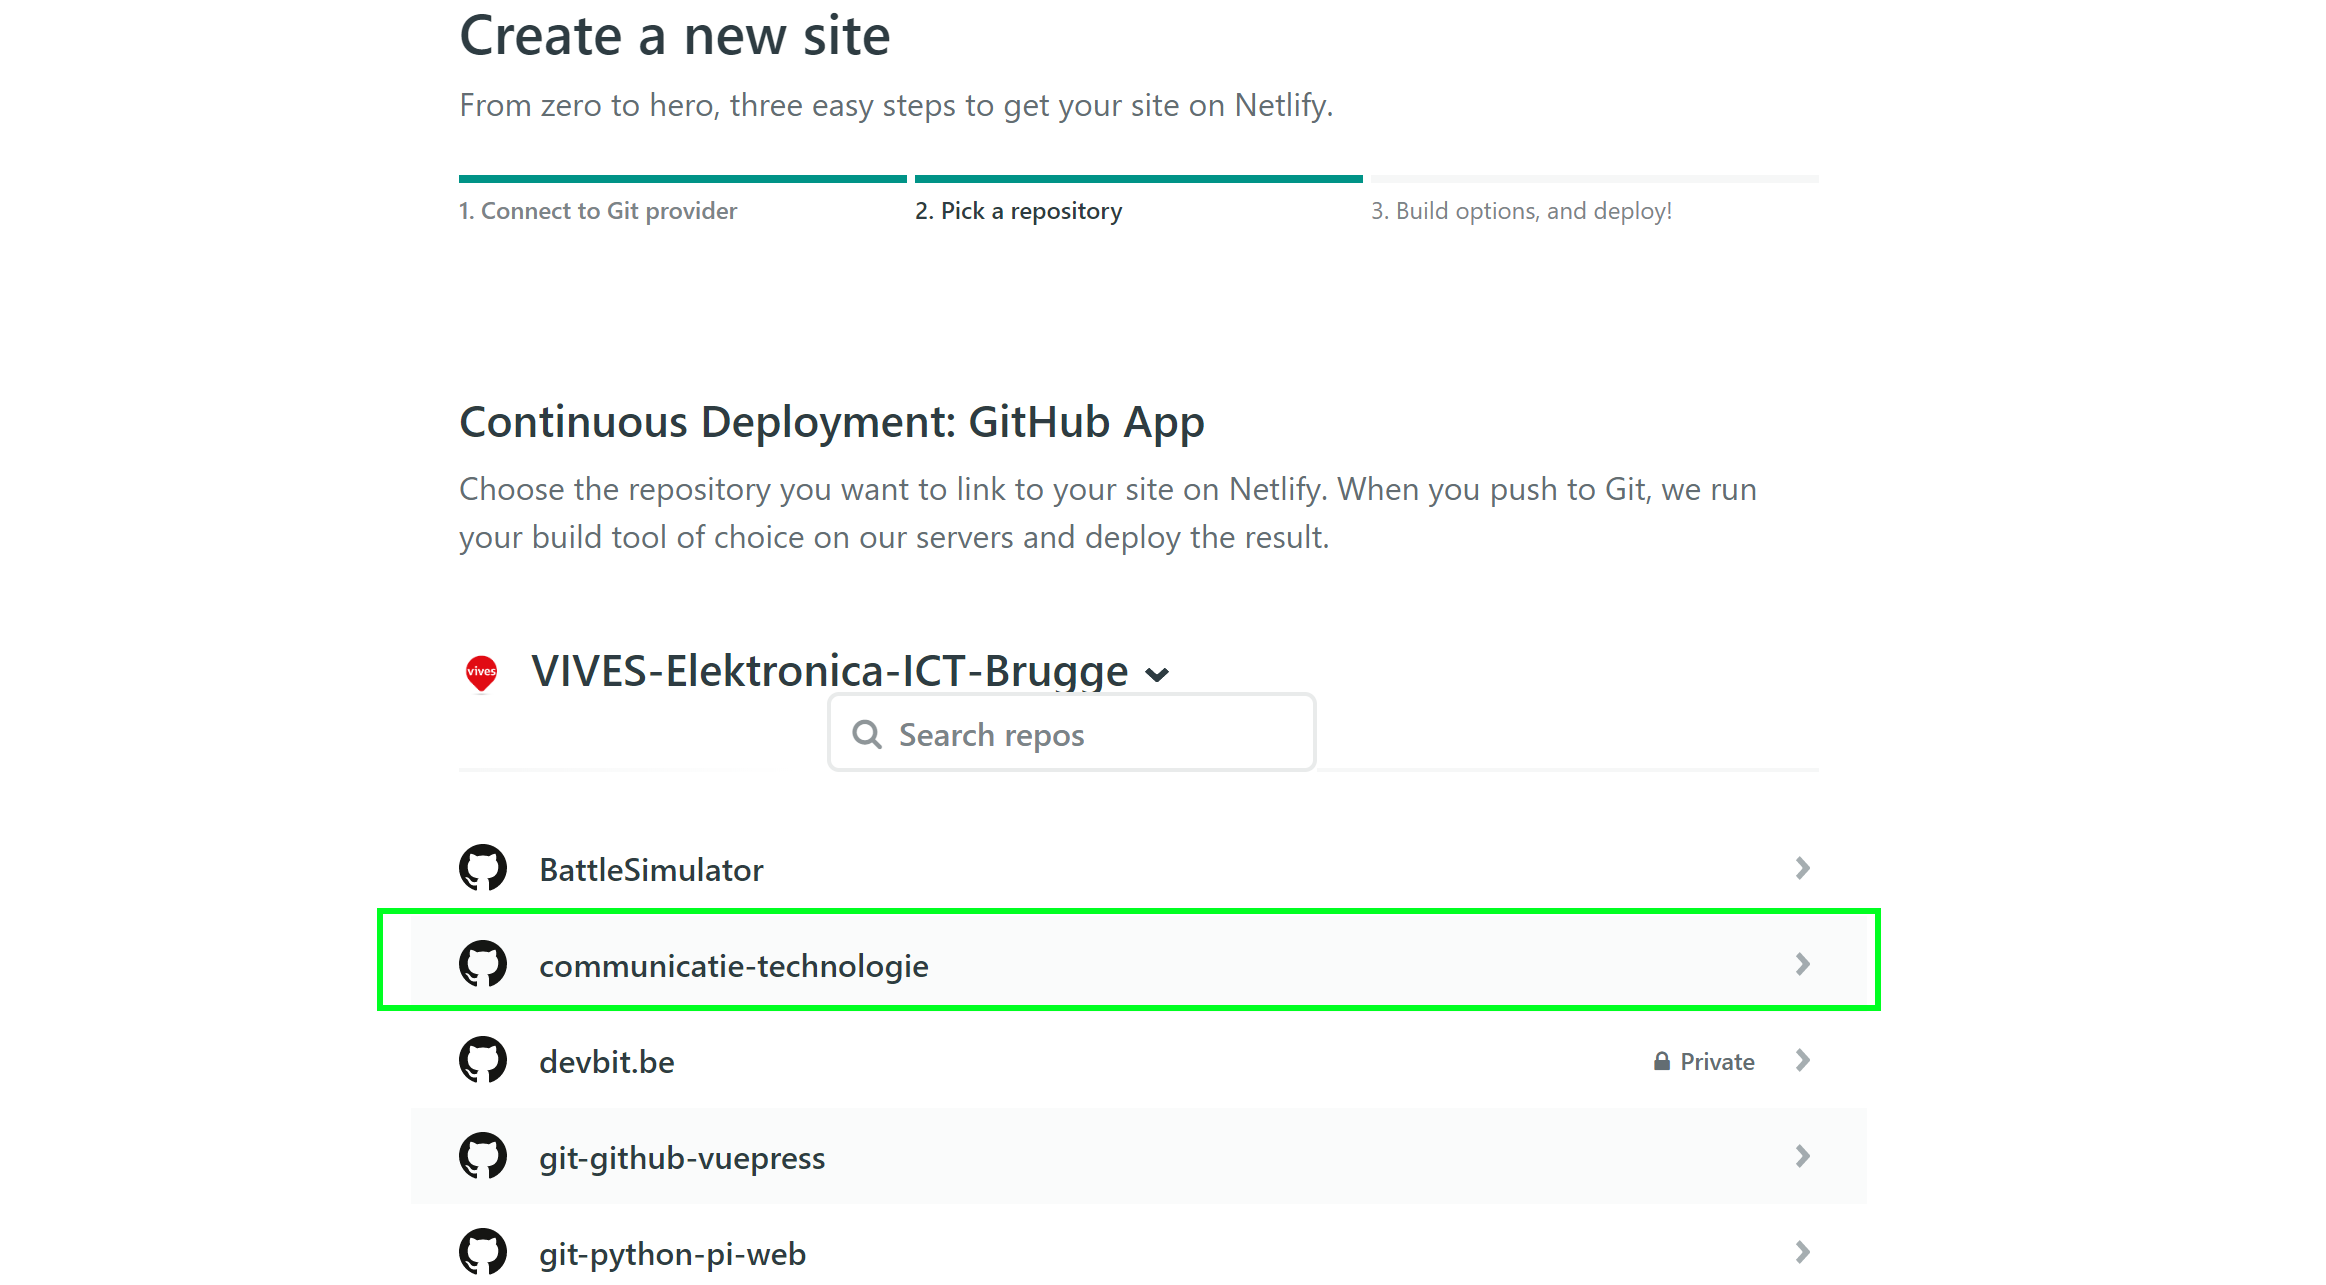
Next select the correct GitHub repository that contains your VuePress course website. In our case it is communicatie-technologie.
The basic configuration should not have to be changed. Your VuePress website has been made Netlify ready by the use of the configuration file netlify.toml in the root of your project.
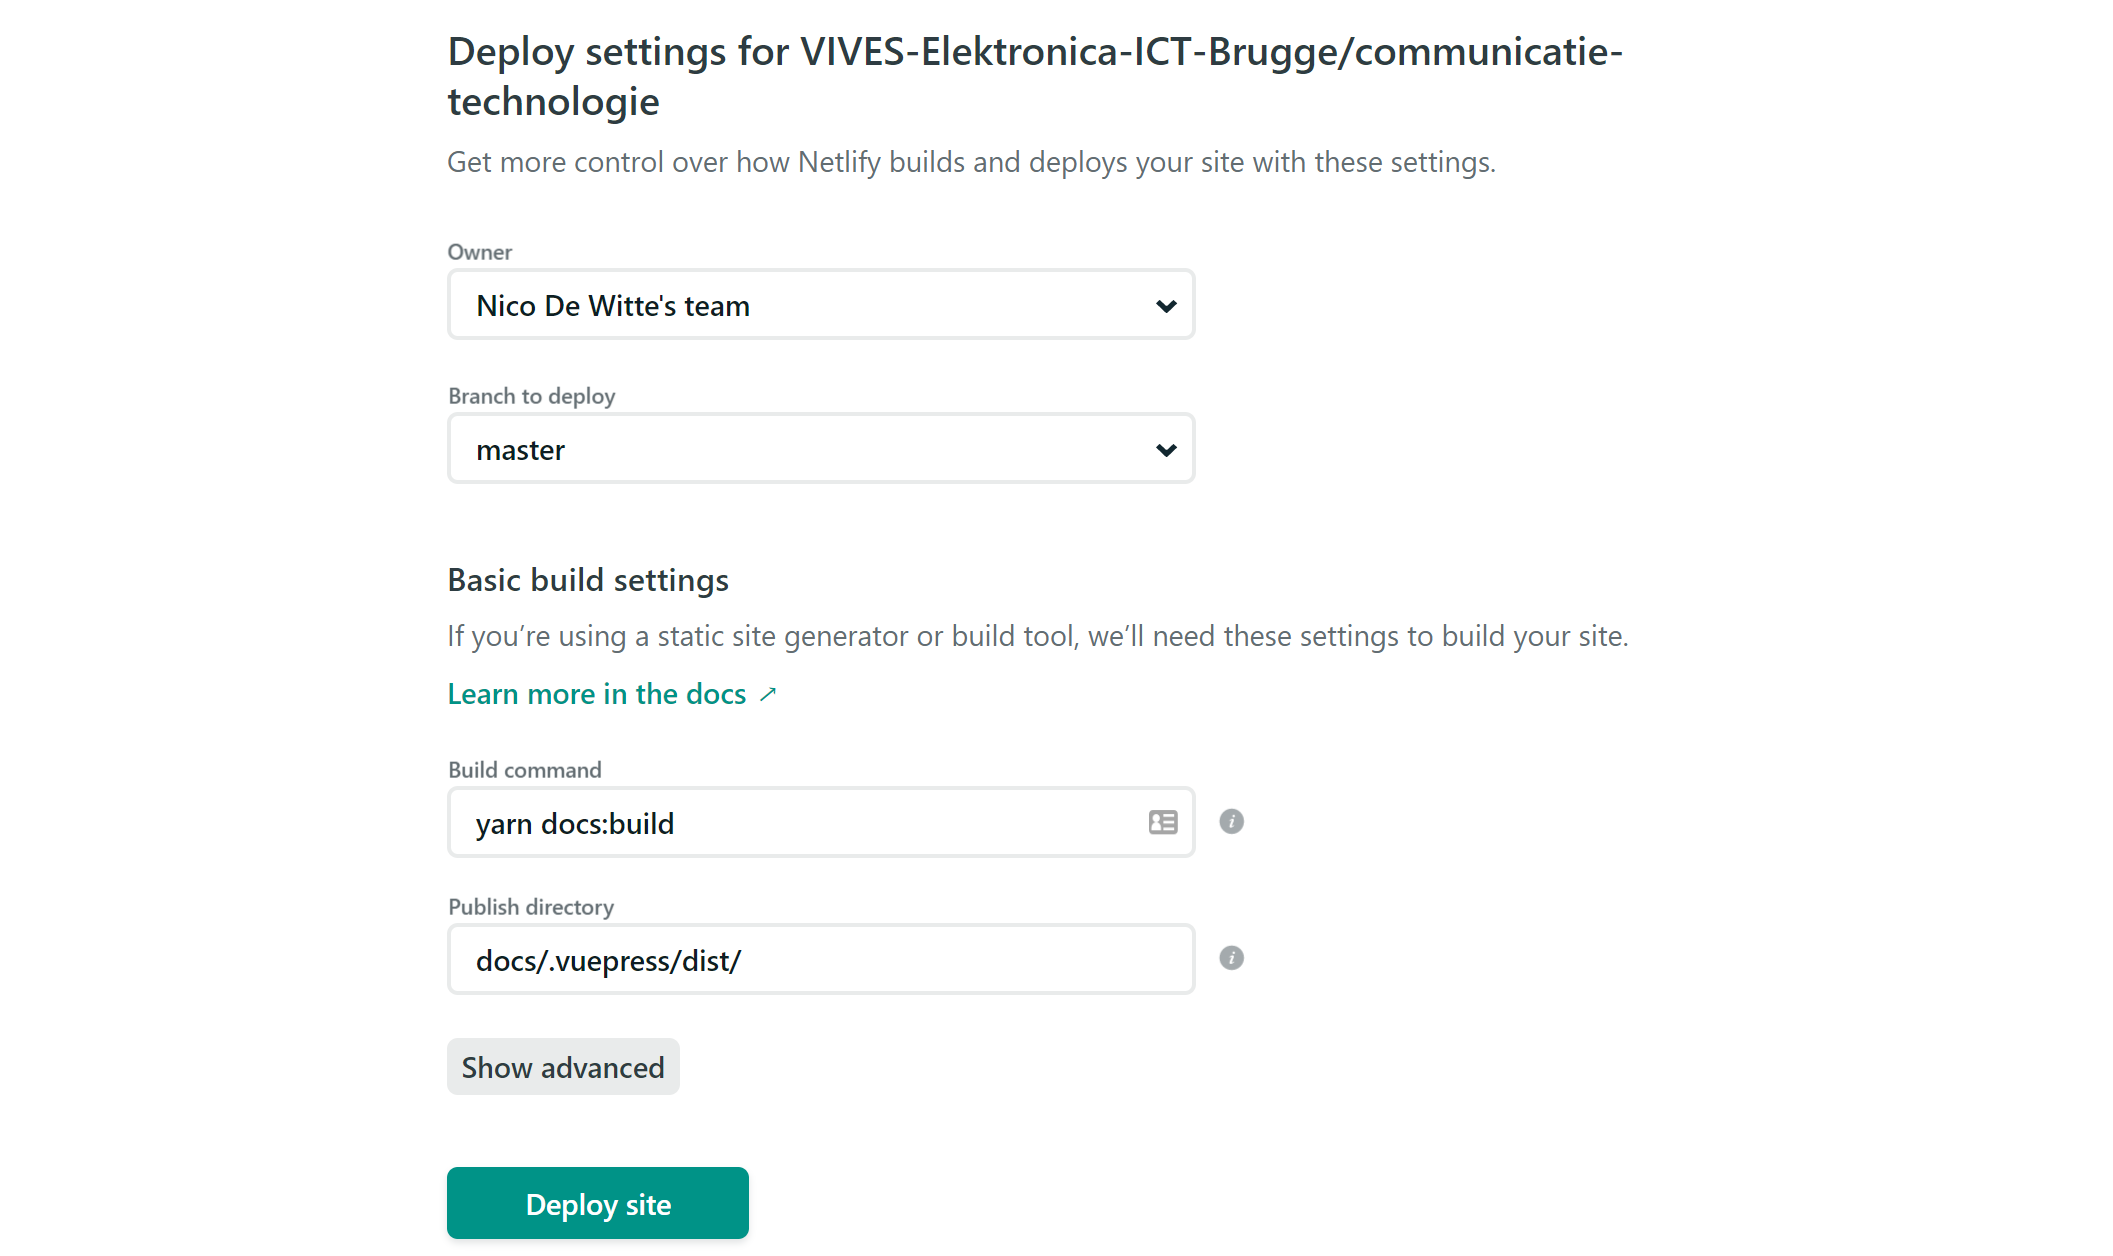
Hit the Deploy Site button and wait for the build to finish.
From now on off, every time you push commits to your master branch on GitHub, your site will automatically build and be deployed on Netlify.
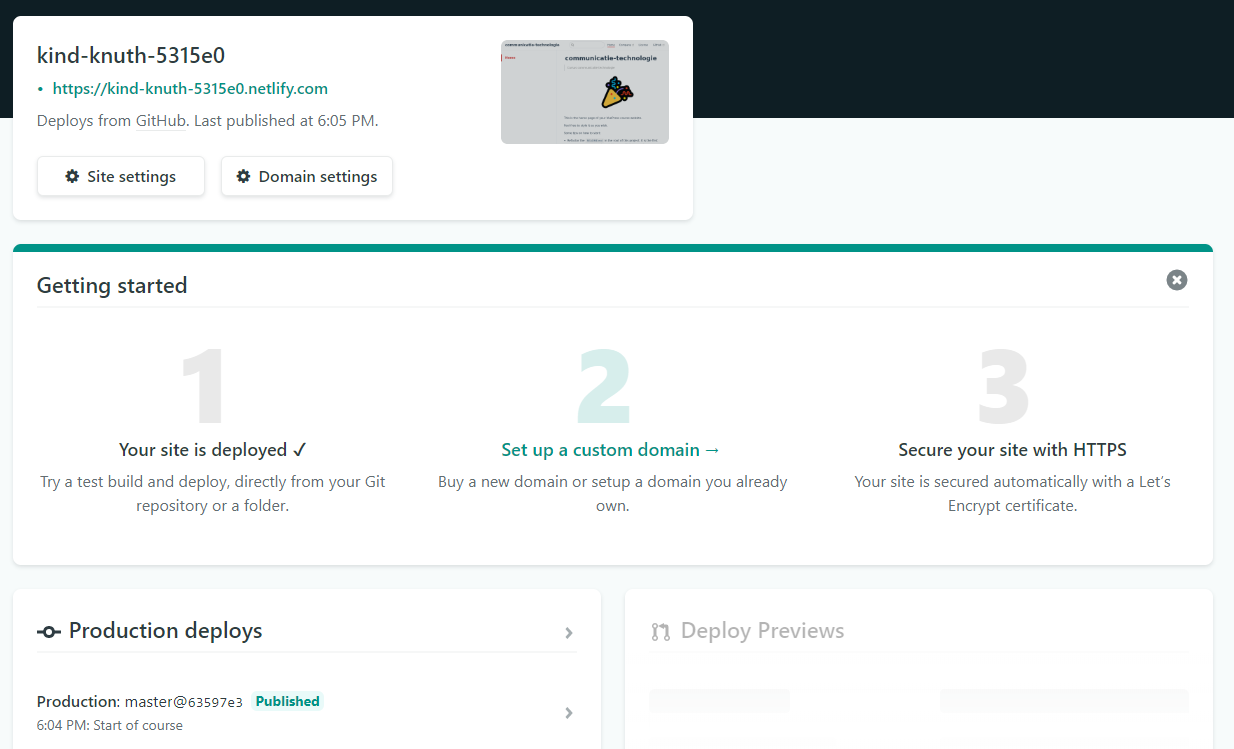
At this moment your website can be accessed via a random generated url shown in the top-left of your overview on Netlify. In our example this is https://kind-knuth-5315e0.netlify.com. Click the link on Netlify to view your fancy new course site.
# Changing the Generated URL
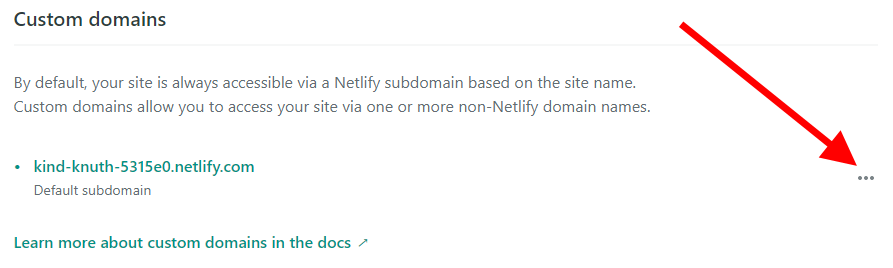
Netlify allows you to change the generated URL in a more user-friendly url of your own choosing. Click Domain settings and select the three dots next to the domain name ... and choose Edit site name.
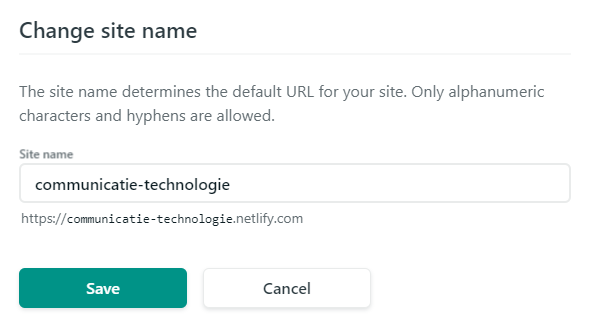
Enter a more sensible name for your website.
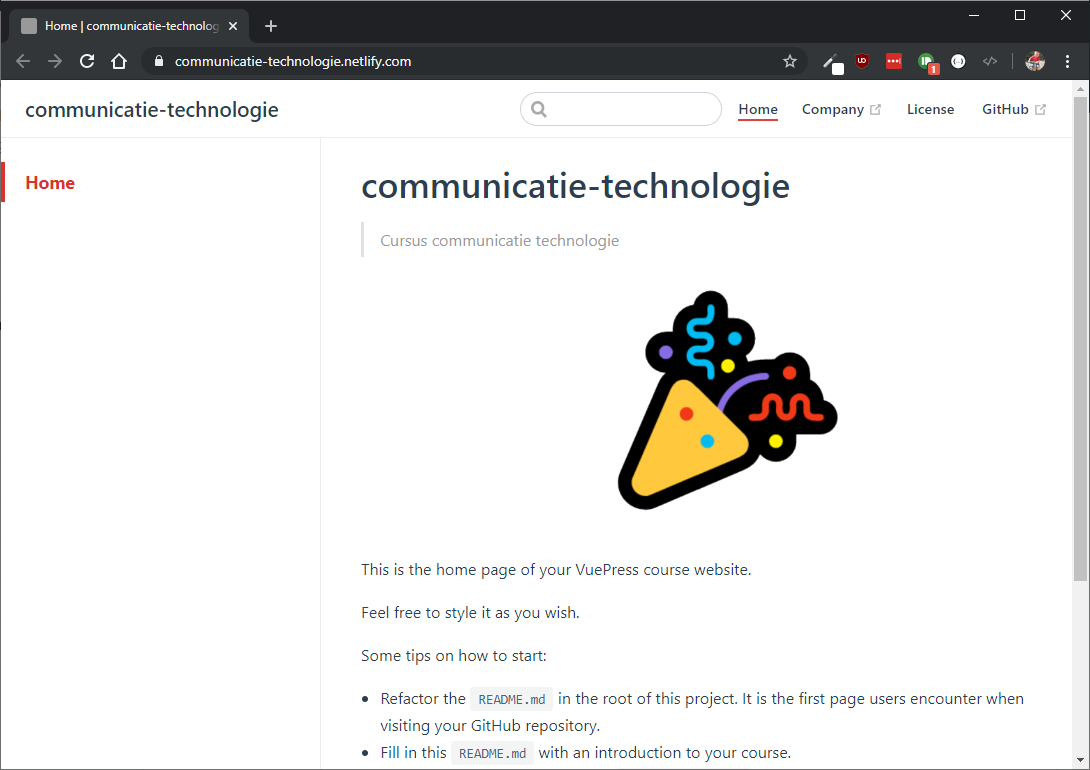
You should immediately be able to access your site via the new domain name.
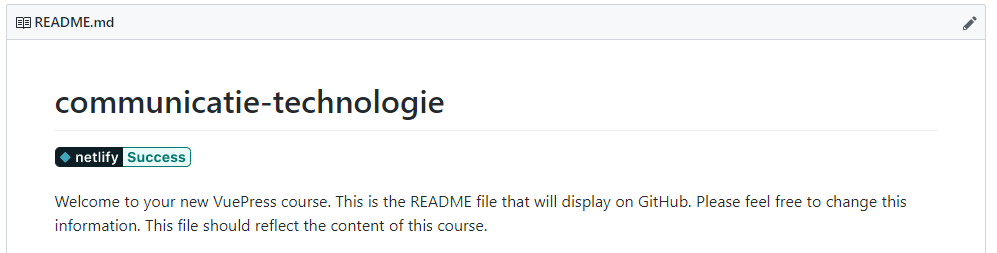
# Adding a Status Badge
A status badge is an image that automatically updates to reflect the current state of your latest production deploy. You can use a markdown snippet to add this badge to the top of your README.md file in the root directory of your project.
You can find the markdown snippet on your Netlify project page under Settings => Status badges.
![]()
Add the code that looks like
[](https://app.netlify.com/sites/communicatie-technologie/deploys)
to the top of your README.md file, just below the title heading.
The result should hopefully look like this: